
Then my birthday passed this last Saturday and I was at school for the majority of the day, but it was so fun. My school got together with the Variety Club, which is a children's charity, and had a special day for kids with down syndrome and their mums and friends, too. There was food, drinks, cake and the students at our school did everyone's hair, makeup and manicures and then they were sent off to have some professional photographs taken. It was so much fun!
Then I came home for a get together with my family. And on Friday I'm going to be getting a mani/pedi with 2 of my best girlfriends, so hopefully I'll remember to take lots of pictures for you all!
But now, on to how to do your own manicure...So this is most of the stuff that I used to do my nails.
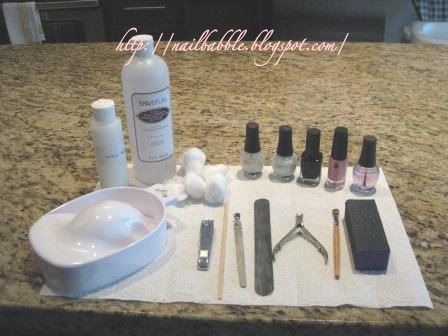 In the back row, I have from left to right: cuticle remover, nail polish remover (it's SpaRitual and it smells amaaaaazing. I have to fight the urge to stick the bottle right up one of my nostrils), cotton balls that (I rolled myself, haha), base coat, colour polishes and a top coat.
In the front row, from left to right: manicure bowl, nail clippers, orangewood stick, metal cuticle pusher, nail file, nippers, a small french manicure brush, and a buffer block (med/coarse).
What I totally forgot to add to the picture: nail oil (Solar Oil by CND), lotion (Scentsations mango & coconut lotion by CND), and antibacterial soap.
Now onto the steps...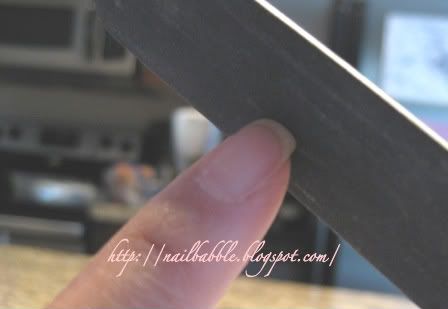 1. Remove your jewelry and, if necessary, clip your nails on both hands so that they're even in length. Then file them to your desired shape. To file them you want to go from the outside of the nail to the inside in one long sweep. Only file in one direction at a time. So, you can go from the left side of the nail to the right and then right side of the nail to the left. Never go in a back and forth sawing motion. It can eventually cause your nails to fray and split.
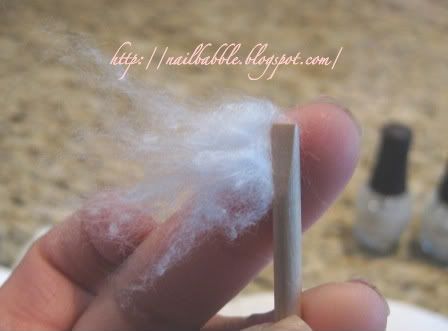 2. Next, go and fill your manicure bowl with warm water and antibacterial soap. Then wrap your orangewood stick in a little bit of cotton...
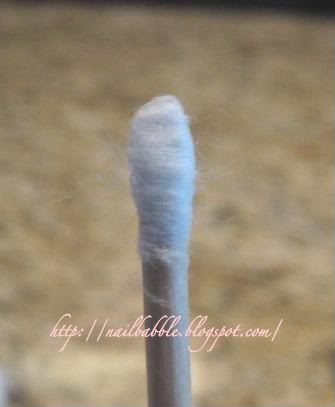 ...so it looks like this...
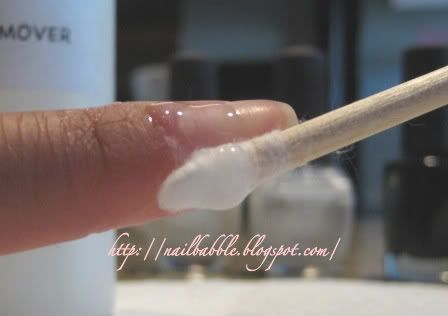 ...and apply cuticle remover to it and apply to your cuticles on one hand only. Then remove the cotton and toss it.
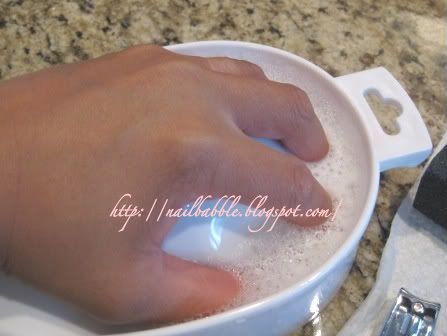 3. Then dunk your hand in so that the water covers your fingertips. Wait about 2-3 minutes. If you think that your cuticles are a bit on the rough side, you can wait a few extra minutes for them to soak.
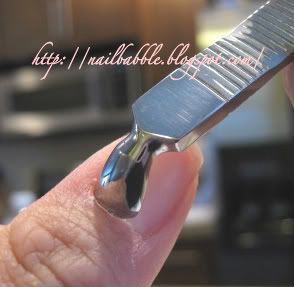 4. Take your hand out and give it a quick dry with a clean towel or paper towel. Then you can use your metal cuticle pusher or your orangewood stick to gently push back your cuticles. Being too rough in pushing them back could cause inflammation, so be careful. Also, you can clean under your nails to remove any dirt.
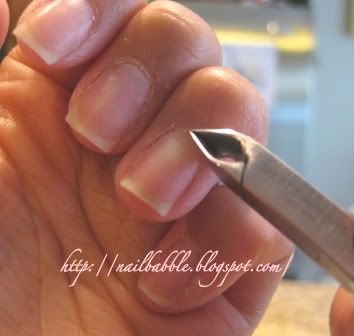 5. Now you can nip any excess, if necessary. If you've got any skin that is loose and white in colour, then it's dead and you can nip it away carefully. Also, remove any hangnails (those tiny flaps of dead skin that come up around the cuticle area).
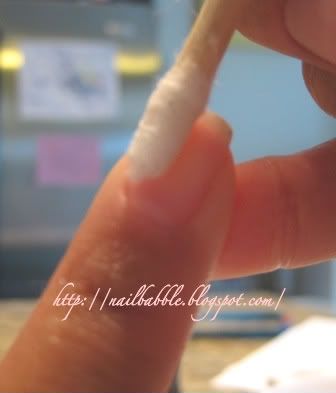 6. Using fresh cotton, wrap the tip of the orangewood stick again and this time apply nail oil to your cuticles. If you've got a nail oil with a brush on the end of it, just apply it with the brush and skip the orangewood stick step. Then massage it all in to the cuticles. This helps your freshly nipped skin from drying out and keeps the skin soft and supple.
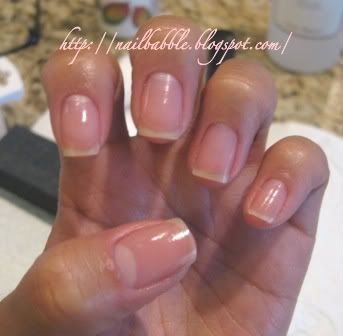 7. Now you've got pretty, clean looking nails. And now you can repeat steps 2, 3, 4, 5 and 6 to your now sad-in-comparison hand. Once that hand is all done, feel free to massage in some lotion to both your hands.
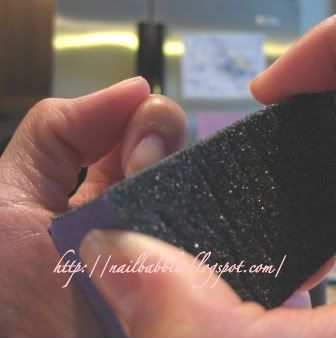 8. Now you can lightly buff the tops of your nails on both hands with the softer grit side of your buffer block. You want to buff in all directions to remove shine and ridges. 9. Now you want to wrap and orangewood stick in cotton again and apply a little bit of nail polish remover to it. Then use it to go over all your nails cover the entire nail area and going right up to the cuticle without going over the cuticle itself (this will dry out the cuticles). You also want to go under your nails, too. This is called neutralizing the nails and it'll remove any oils and debris from the nails which will give the polish a clean surface to adhere to. (And yes, I'm aware I used this pic already earlier...but it looks the same when you're doing it! lol)
10. Now you can use a 3-way buff to shine up your nails or you can choose to apply polish.
If applying polish, you want to apply one coat of base coat. Then 2 coats of coloured polish. With the coloured polish, you want to go as close to the cuticles as you can without actually touching the cuticles. If you're polish is stuck up against your cuticles, you polish will chip sooner. And try to do between 3-5 strokes when applying polish. Any more than that and it can look clumpy and messy. Then one coat of top coat. Don't be stingy with the top coat...you want it to be able to do it's job which is to protect the coloured polish from chipping and giving it added shine. (<---I know, no pics...I will do a special post on how to do polish soon, but I didn't want to do the tutorial within a tutorial. So keep your eyes peeled for that one.)
Hope you guys enjoyed the tut and if you guys try it, send me the link to your pics...I'd love to see your happy hands!


No comment for "My nails #5 & How to do your own professional manicure."
Post a Comment